Basic injection molding is a common procedure for efficiently producing molded plastic products. Compared to other forms of injection molding, this process is fairly simple. Yet, product complexity varies, and applications differ for assorted industries. Before starting production, understanding the various steps in the process is important to ensure the right approach.
What is the process for basic injection molding? It is a series of six steps that consist of creating plastic products, all the way to packaging. Let’s examine each crucial step more closely.
Step 1: Mold Closure
What is the process for basic mold injecting? The answer is found in varying stages of part design and manufacturing. The beginning of the process is when the mold closes.
When using automated robots, the cycle of injection molding will begin anew every time the machine receives a new part. However, for the purposes of this article, let’s focus on one item at a time. The injection molding timer officially starts when the mold closes.
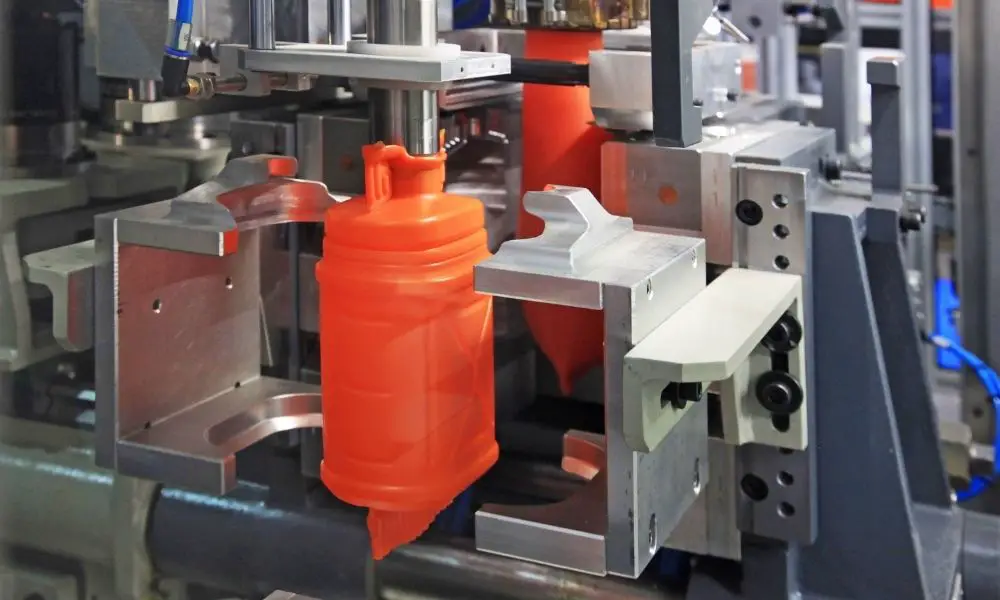
Step 2: Mold Injection
Next, the equipment injects the heated plastic into the mold. The melted plastic importantly displaces air pushed through vents into the injection pins and parting line. Ensure that the mold is properly filled by having a well-designed runner, gate, and vent.
Step 3: Part Cooling
After the mold has been filled, the part must cool. The time must be just long enough for the material to harden—without wasting time before the next piece can be formed. This timeframe will depend on the type of resin and the thickness of that particular part. Molds are innovatively designed to have water cycling through them to maintain a constant temperature while cooling.
Step 4: Plasticizing the Resin
After the part has cooled to the necessary temperature, the barrel screw retracts. As it does, further plastic resin is drawn into the barrel, where heater bands maintain the necessary temperature to begin melting the resin for the next piece.
Step 5: Opening and Ejection
With the barrel screw removed, the mold can open up. The ejector rod moves ejector pins forward, opening the mold and pushing the molded piece down into a bin underneath for later use.
Step 6: Runner and Packaging Removal
Technically, the machine’s cycle ends after ejection, at which point the process begins anew. However, the machine operators or robots must sort through the leftover runner for any usable parts from time to time. The runner is the pathway that the plastic takes when filling the mold cavity.
Manufacturers often grind down and recycle runners to avoid waste and reduce costs. At the end of the process, manufacturers weigh, count, and package any usable parts to either be assembled or shipped out.