Looking to build a vertical garden in your home? Great!
Vertical farming is a great way to conserve space and water and grow beautiful fresh, nutritious greens. If you are looking for a DIY aeroponic tower garden and want to know how to build one, we can help.
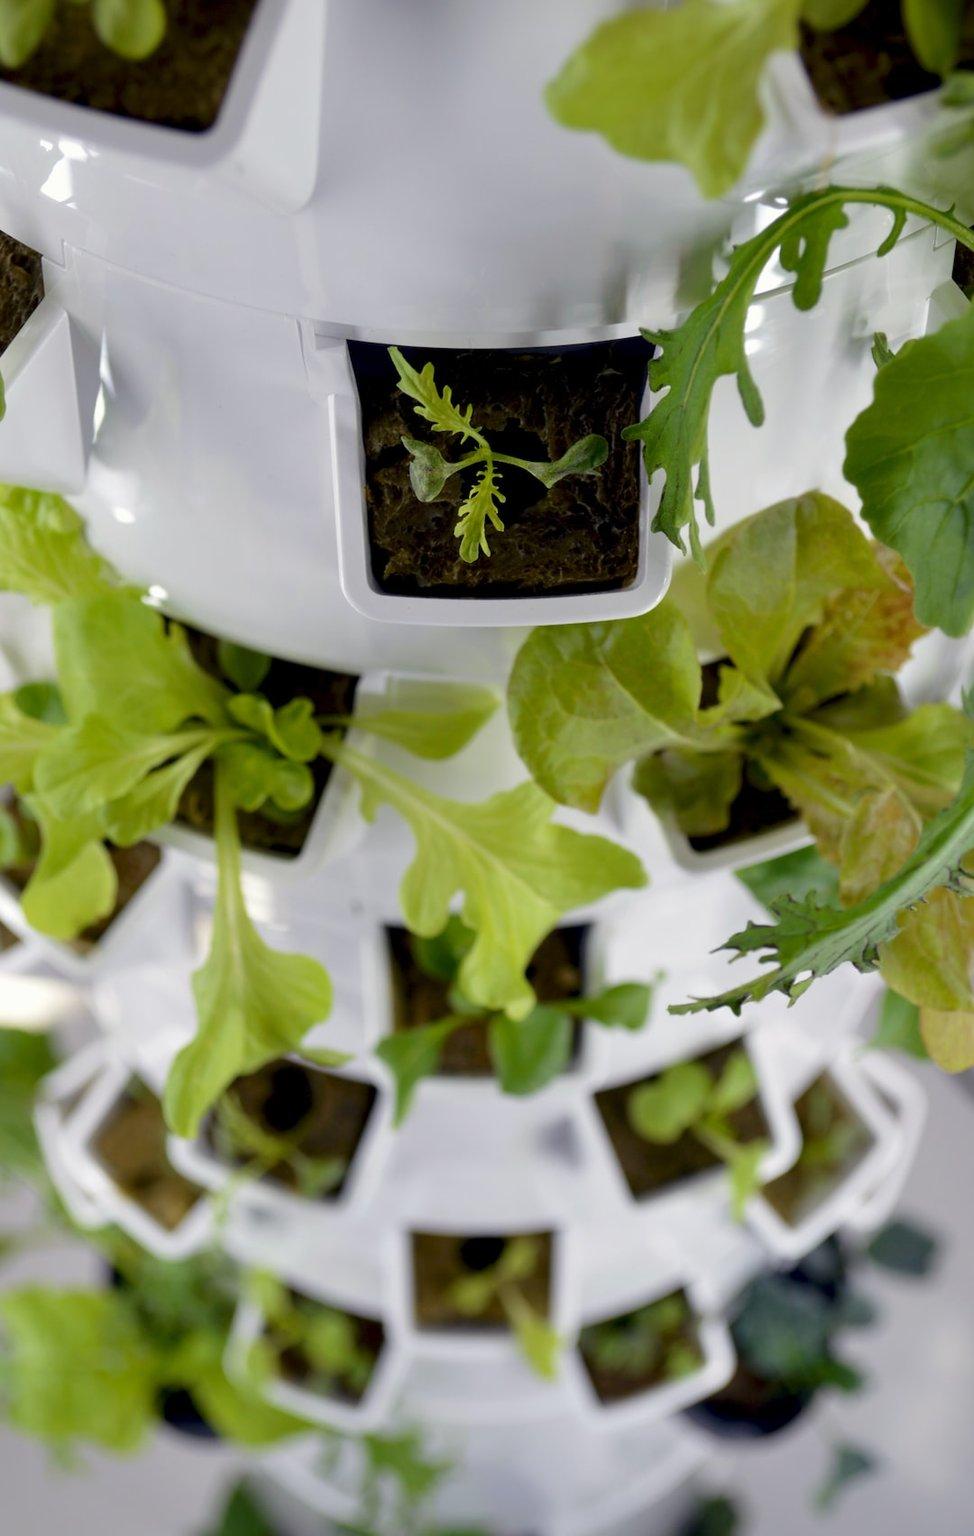
Aeroponics is a simple way to grow food in any climate, even at home. Start growing fresh food today with one of these aeroponic tower garden kits.
Plan Your Tower Design
Before diving into the assembly process, take some time to plan your tower garden’s design. Consider the available space, the number of plants you want to grow, and the types of plants that will thrive in an aeroponic system. Sketch out your tower’s dimensions and levels on paper or use design software to get a clear visual representation.
When planning, think about the structural stability of the tower and the materials you will use for the frame. You might opt for a vertical metal frame for a durable and sleek look, or you could go for a wooden frame if you prefer a more rustic appearance.
Build the Tower Frame
With your tower design plan ready, start building the frame for your aeroponic towers. Assemble the materials needed for the frame, such as metal pipes or wooden beams, and secure them together using appropriate fasteners. Ensure that the frame is robust and level to support the weight of the tower and the plants it will hold.
To maintain a neat and organized look, you can use zip ties or clamps to attach the PVC pipes securely to the frame. Alternatively, drill holes in the frame and thread the PVC pipes through them, creating a more integrated and stable structure.
Cut the PVC Pipes
Measure the desired height of your tower garden and cut the PVC pipes to the appropriate lengths. Start with the longest piece for the bottom level and gradually reduce the length for each upper level. A sturdy tower with multiple planting levels will allow you to grow more plants in a limited space.
Remember that the number of PVC pipes and their lengths will depend on the size of your tower and the number of planting levels you want. If you’re uncertain about the lengths, cutting them slightly longer and trimming them down as needed during assembly is better.
Drill Holes for Net Pots
To create an efficient and functional aeroponic tower garden, you must provide space for the plant roots to grow. Using a hole saw bit that matches the size of your net pots or plant cups, carefully drill evenly spaced holes along the length of each PVC pipe. The holes should be large enough to snug the net pots, ensuring a stable and secure fit for your plants.
To ensure uniformity in hole placement, you can use measuring tape and mark the hole positions before drilling. Take time during this step to avoid any mistakes, as accurately spaced holes will help maintain consistent nutrient delivery to the plants.
Assemble the Tower
Now it’s time to assemble all the components and assemble your aeroponic tower garden. To create a vertical structure, begin by connecting the cut PVC pipes using PVC pipe fittings, such as elbows, T-joints, and crosses. Start with the longest pipe at the bottom and work your way up, attaching each level in sequence until you reach the top.
Before gluing the fittings, dry-fit the pieces to ensure everything lines up correctly. Once satisfied with the arrangement, apply PVC cement to the joints and firmly connect the pipes and fittings.
Follow the cement manufacturer’s instructions, as it usually involves applying the cement to both the inside of the fitting and the outside of the pipe and then pressing them together for a few seconds until the bond sets.
Install the Water Pump
The heart of your tower garden is the submersible water pump. This pump delivers nutrient-rich water to the top of the tower, allowing it to trickle down and nourish the plant roots. Place the water pump in a water reservoir at the base of the tower.
Attach plastic tubing to the water pump’s outlet and run it up the tower to the topmost level. Make sure the tubing reaches the top to ensure proper water distribution. You can secure the tubing to the tower with clips or ties to prevent it from sagging or getting in the way of the plants.
Add Net Pots and Growing Medium
With the tower and water pump in place, it’s time to prepare the planting sites for your plants. Fill each net pot or plant cup with the growing medium of your choice, such as clay pellets or rock wool. These inert media support the plants, allowing the roots to access oxygen and nutrients efficiently.
Insert one plant into each net pot, ensuring the growing medium fully covers the roots. Carefully place the net pots into the pre-drilled holes in the tower.
Mix and Supply the Nutrient Solution
For your aeroponic tower garden to thrive, you need a nutrient solution that provides all the essential elements for plant growth. Follow the nutrient solution package instructions and mix it with water in the reservoir.
The recommended nutrient concentration may vary depending on the plant species and growth stage, so monitor and adjust the nutrient levels accordingly.
As the submersible water pump operates, it will lift the nutrient solution from the reservoir and deliver it to the top of the tower. The solution will trickle down the tower through the open-ended PVC pipes, creating a fine mist surrounding the plant roots.
You can also consider purchasing Air Garden Tower, equipped with a convenient timer to keep your plants watered and thriving even during your busiest days.
Assemble Your DIY Aeroponic Tower Garden Now
Now that you have the parts and a clear understanding of assembling your DIY Aeroponic Tower Garden, you can start growing all the fruits and vegetables you want. Invest in gardening accessories, quality soil, and water your plants frequently to ensure a successful and abundant harvest!
Remember to share your project plan and results on social media platforms and invite your friends to join you in your aeroponic gardening journey.
We hope this article was helpful to you. If you enjoyed it, be sure to check out our blog for more resources.