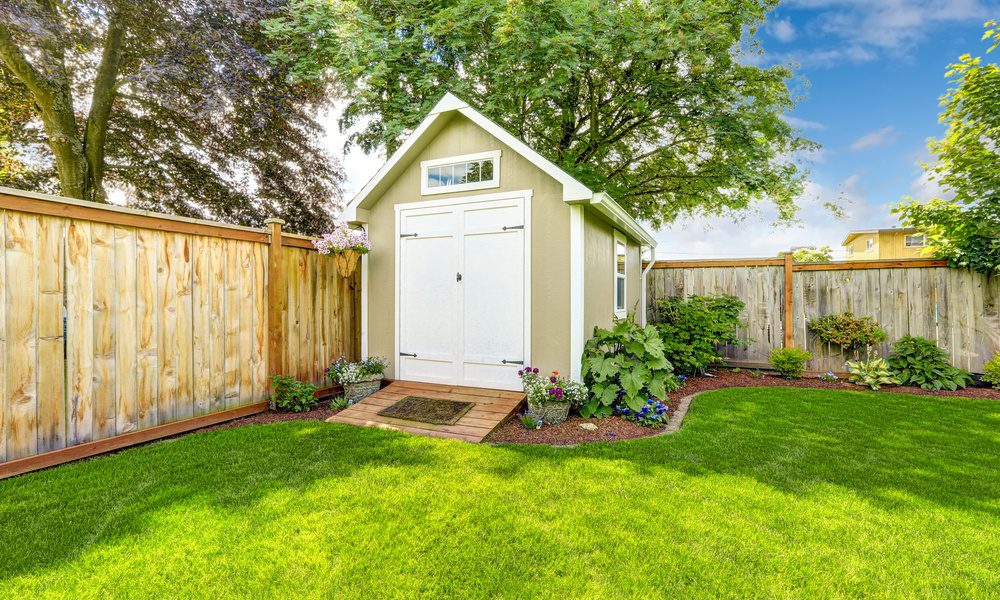
Adding a shed to your backyard creates valuable storage space and helps keep your property organized. Whether you plan to store lawn equipment, tools, seasonal decorations, or outdoor furniture, a well-placed shed can make everyday tasks easier. Before you start moving items inside, take time to plan the setup process carefully. A solid foundation, proper placement, and thoughtful organization will help your new shed serve its purpose for years.
Choose the Right Location
Start by selecting a suitable spot in your backyard. Look for level ground that offers easy access from your home and yard. Consider how often you will use the shed and what you plan to store inside.
Check local building regulations and homeowner association requirements before installation. Some areas require setbacks from property lines or permits for larger structures.
Keep these factors in mind when choosing a location:
- Access to pathways and work areas
- Proper drainage away from the shed
- Distance from fences and property lines
- Sun exposure and surrounding vegetation
- Future landscaping plans
A convenient location can save time and prevent future headaches.
Prepare the Ground
A strong foundation helps protect your shed from moisture, shifting, and structural damage. Clear grass, rocks, roots, and debris from the chosen area before installation.
Many homeowners use gravel pads, concrete slabs, or treated wood foundations. The best option depends on the shed size, local climate, and budget.
After preparing the area, verify that the surface remains level across the entire footprint. Even small variations can affect door alignment and overall stability.
Assemble the Shed Structure
Once the foundation is ready, begin assembling the shed according to the manufacturer’s instructions. Organize all parts and hardware before starting to avoid delays during construction.
If you want a durable and low-maintenance option, you may decide to order a metal building kit. These kits often include pre-engineered components that simplify assembly while providing excellent resistance to weather and pests.
Use quality tools and follow each step carefully. Ask a friend or family member to help with lifting and positioning larger panels. Extra hands can make the process safer and more efficient.
Install Doors, Roofing, and Ventilation
After assembling the main structure, install the doors and roofing components. Check that doors open and close smoothly without rubbing against the frame.
Proper ventilation plays an important role in protecting stored items. Good airflow reduces moisture buildup and helps prevent mold, mildew, and unpleasant odors.
Many shed designs include vents near the roofline. If your model does not, consider adding ventilation features during installation.
Organize the Interior
A thoughtful layout helps maximize storage space and keeps frequently used items within reach. Before moving everything inside, create designated areas for different categories of equipment and supplies.
Consider adding:
- Wall-mounted shelving
- Pegboards for hand tools
- Storage bins with labels
- Hooks for ladders and hoses
- Workbenches for projects
Vertical storage solutions can free up valuable floor space and improve accessibility.
Maintain Your Shed
Regular maintenance helps keep your shed in excellent condition. Inspect the roof, doors, and foundation periodically for signs of wear or damage.
Trim nearby vegetation to improve airflow and prevent branches from scraping exterior surfaces. Clean the interior regularly and remove clutter that can attract pests.
With proper planning, installation, and upkeep, your backyard shed can provide reliable storage and functionality for many years while helping you keep your outdoor space organized.