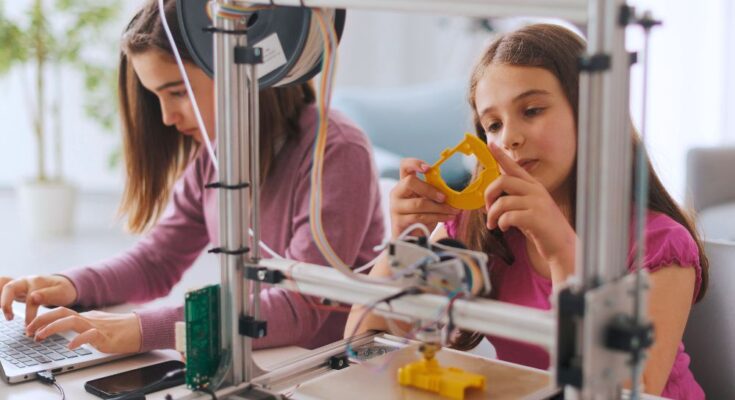
3D printing is a great tool for producing everyday products for personal use or to use in a factory. However, not every item will have a smooth finish, so creative teams need to find methods to smooth out each product before using them. Some printers use epoxy resin or heat gun smoothing, but some filaments might be heat sensitive or need more than epoxy to smooth out. In these situations, you might use sanding instead. Read on to discover four reasons you should sand your 3D prints.
Sanding Is the First Step To Do Before Adding Finishing Layers
Before applying finishing layers to a 3D print, it’s vital to sand the project. This process smooths out surfaces of all levels, including the more rigorous and hard-to-reach spaces. You have many sanding options, including using nail files to flatten smaller parts or internal parts that are difficult to reach.
Sanding Improves the Quality of a Print
Your 3D-printed walls won’t always look great because you typically need to go over them with a tool to smooth the surface, such as sanding. Sanding is a better smoothing method because, while it takes a little more time, it focuses on detail. Rubbing the surface down with sandpaper, a nail filer, or a sand block will eliminate roughness and improve the appearance and functionality of the object.
There Are Different Grit Options
Sanding has many grit options, ranging from extremely coarse to fine grit, which allows for a smoother finish. Depending on your needs, sanding can provide many ways to achieve the look you need. Sandpaper comes in different sizes, and it’s a good idea to stock up on different types so that you have grain options. Additionally, applying a sprinkle of water to the sandpaper gives the 3D-printed surface a more polished look.
It’s an Inexpensive Smoothing Process
3D printing might seem like it has a lot of expensive post processes, but the truth is, many of them are affordable and easy to DIY. DIYing a sandpaper pad is easy; all you need is a hard circular object to fit the sandpaper around. Creating a round or circular base allows for easier swaying motions as you rub down the plastic. With a bit of effort, you will have a finish you’re happy with.
One of the best tips for smoothing and finishing 3D prints is to make sure you wear protective gear. While sanding is a great smoothing process for 3D prints, it isn’t safe without gloves. Make sure you wear the right equipment when filing with any sandpaper grit. If you ever wonder what the best smoothing process is for your 3D-printed models, consider these reasons for using sandpaper on 3D prints.


